Backing Up SQL Server Databases to Azure.
Applies to: Microsoft SQL Server 2014, Microsoft SQL Server 2012 SP1 Cumulative
Update 2.
In this article we intend to guide you on how to backup SQL Server databases to
a BLOB on Windows Azure, but first we will explain some benefits and
considerations of backing up your databases to Windows Azure.
Benefits.
- You can backup your databases to Windows Azure without having to manage
devices and manage storage capacity on those devices.
- You can backup the databases to Windows Azure based on the activity of your
databases. You can take a log backup when needed only, when space used of
database logs require a backup.
- Off-site, highly redundant storage. This allows to meet compliance
regulations and industry standards.
- Lower managing and operating costs. No hardware management. Low cost
storage.
- More time to focus on other tasks and not spend time managing storage for
backups.
Considerations.
-
Backup and restore times will be proportional to the bandwidth and latency of
your network.
- A backup file have a limitation of 1 TB.
- To backup databases from earlier versions of SQL Server, prior to SQL Server
2012, then you need to use the "Microsoft SQL Server Backup to Microsoft Windows
Azure Tool". This tool will allow to backup SQL Server 2005/2008/2008
R2 databases to Windows Azure with encryption capabilities. You can download
this tool
here.
Steps to backup a database to a storage account on Windows Azure.
First you need to create a Windows Azure account
here. Then we need to create
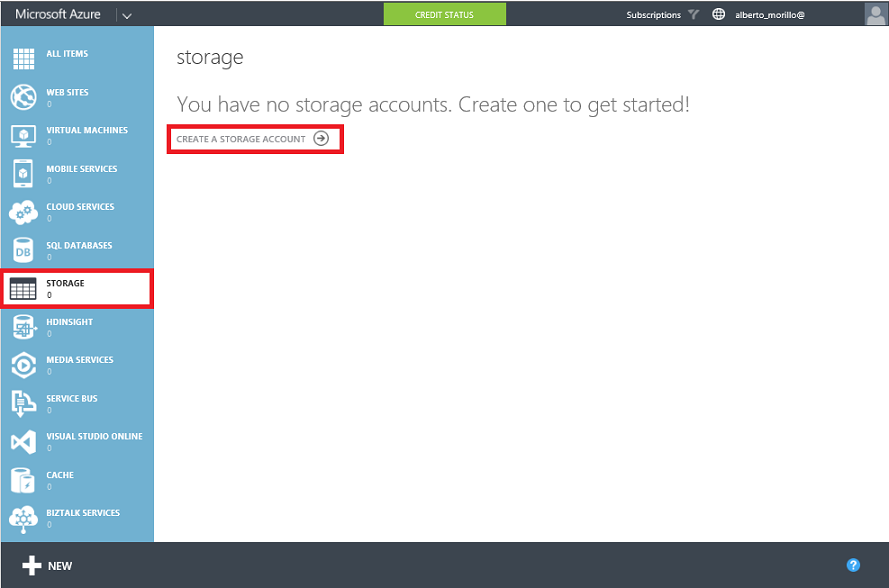
a storage account, so you need visit
here, make a click on
"Storage" on the left panel (as shown on the below image), then click on "create
a storage account".how
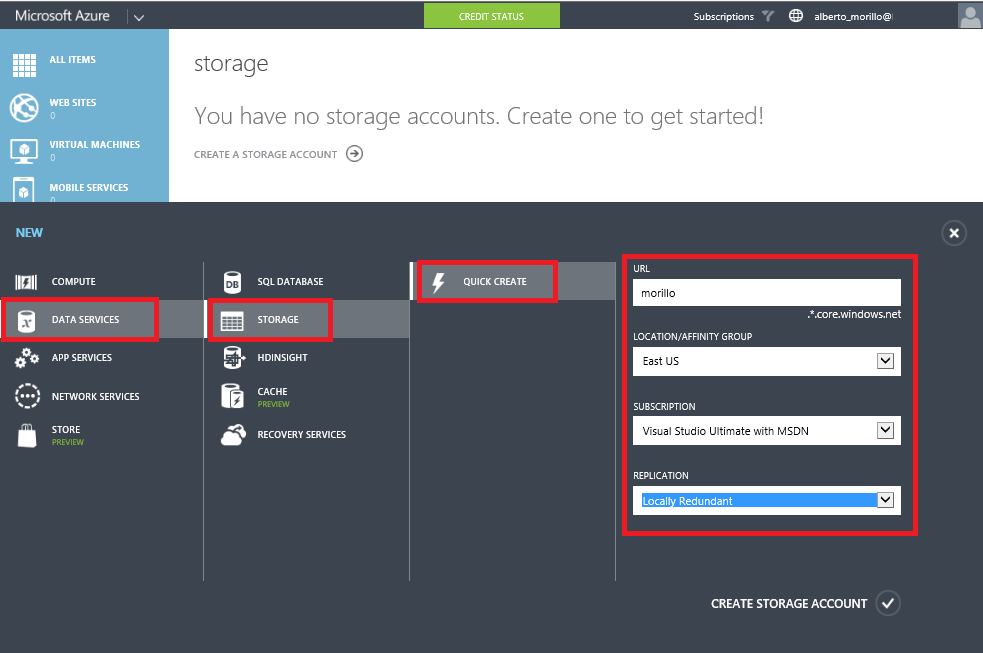
Now click on "Data Services", then click on "Storage", and then click on "Quick
Create" as shown on below image. Now assign a name to the storage account on the
URL field, taking in consideration that the name will be part of the URL
associated with the account. You need to provide the location, subscription and
replication options too. Once you finish to fill the fields in the form, please
proceed to click on "Create storage account".
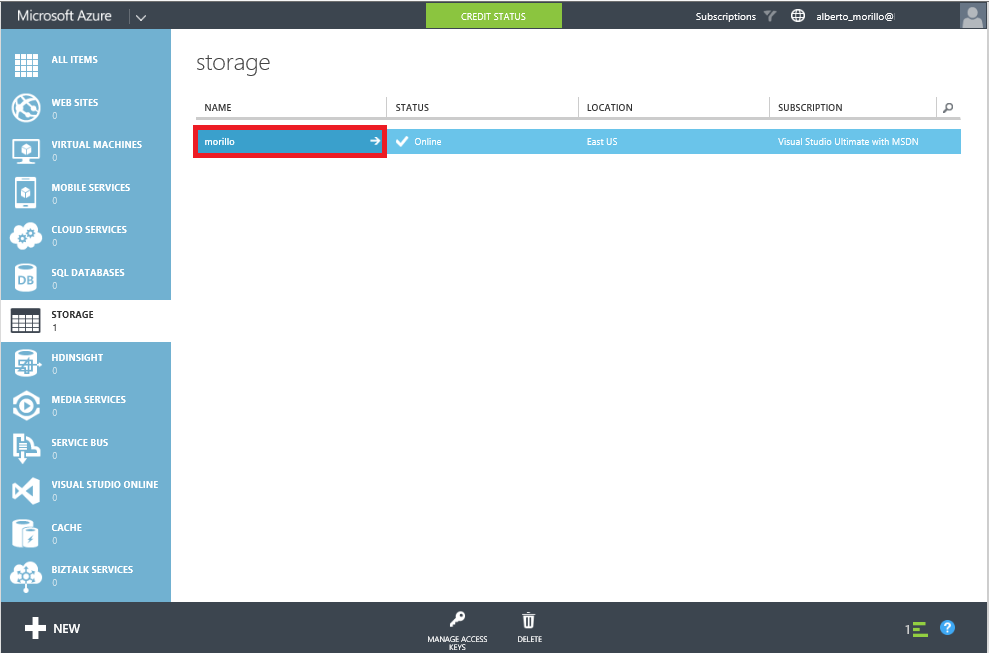
Once the account has been created, it should be listed as shown below.
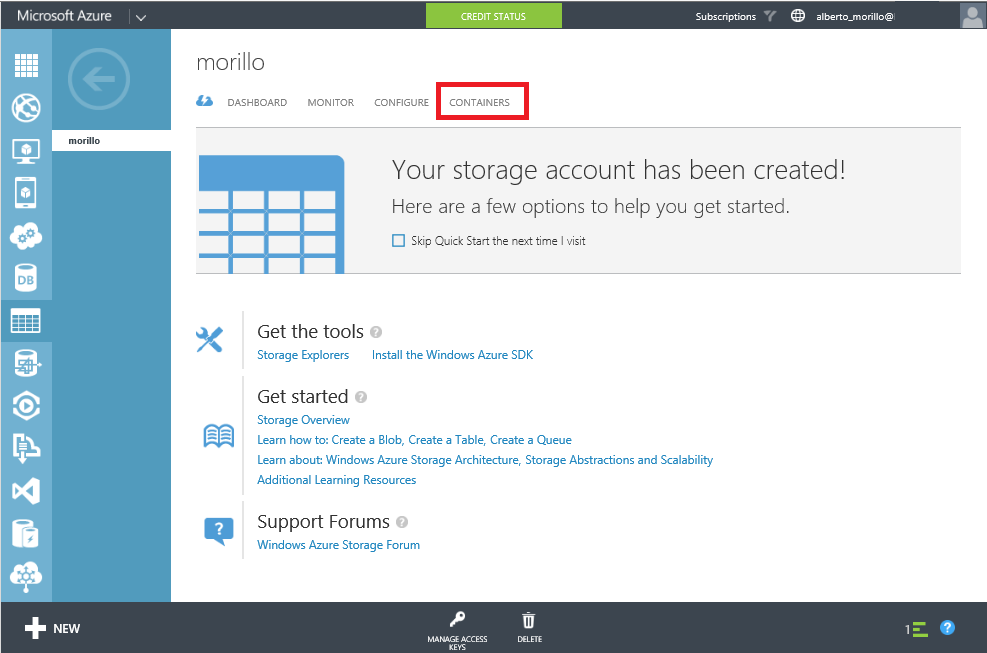
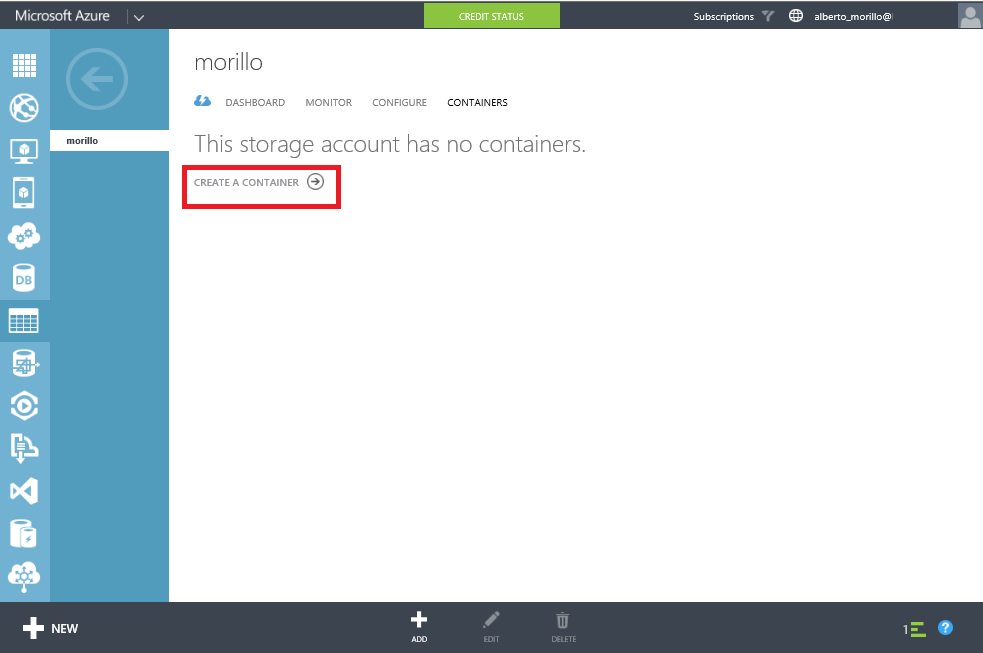
Now we need to create a container on that storage account, where we can place
the database backups. Please click on "Containers" as shown on the below image.
Now make a click on "Create a container" or click on the "+ / Add" sign on the
screen shown below.
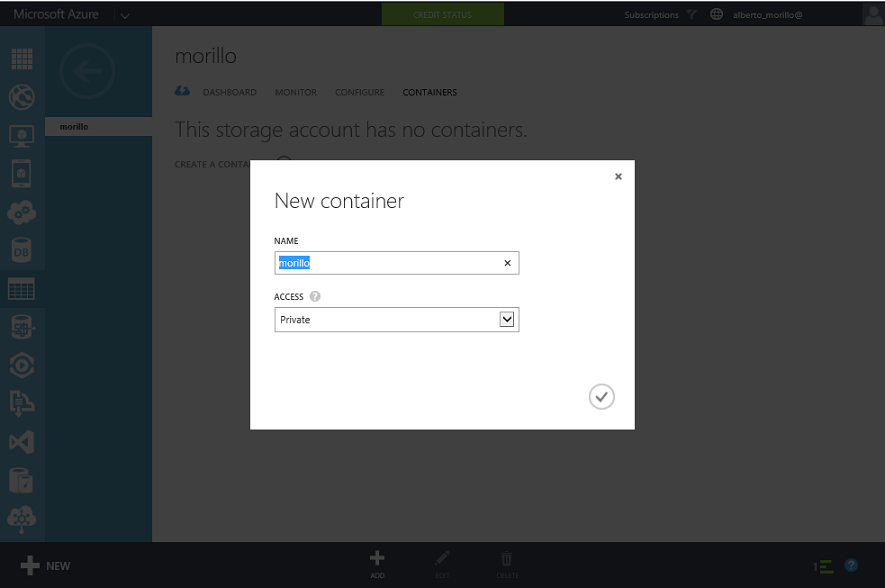
Assign a name to the container and specify the type of access the container will
have. By default the container is private and can be accessed only by the
account owner, we leave this option selected for our demo. To allow public read
access to the blobs in the container, but not the container properties and
metadata, use the "Public Blob" option. To allow full public read access for the
container and blobs, use the "Public Container" option. Once you have finished
providing the information required by the two fields, please click on the check
mark.
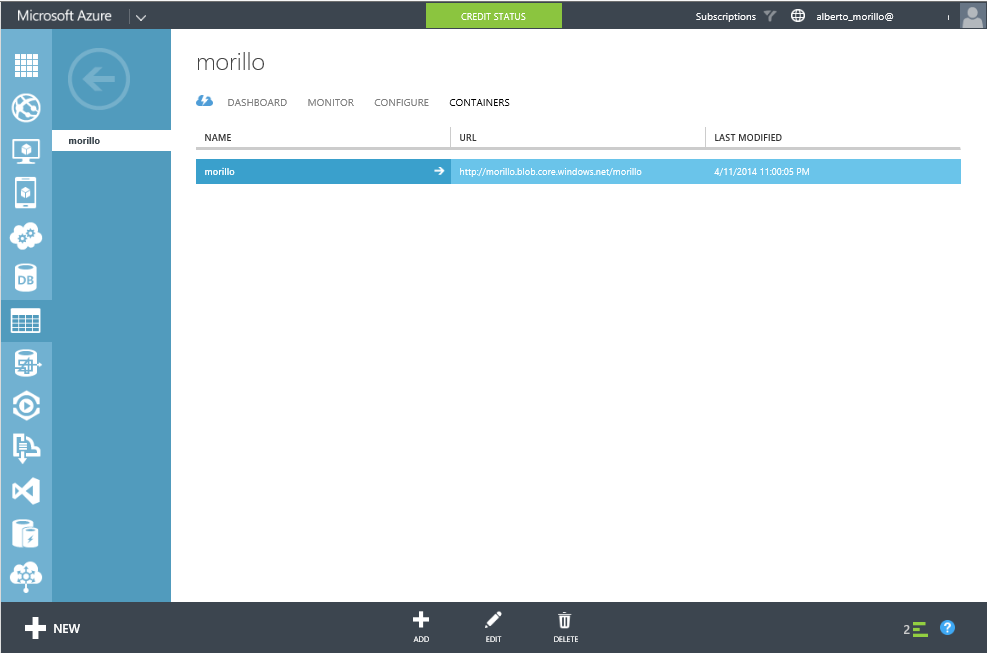
The container should appear like the screen shown below.
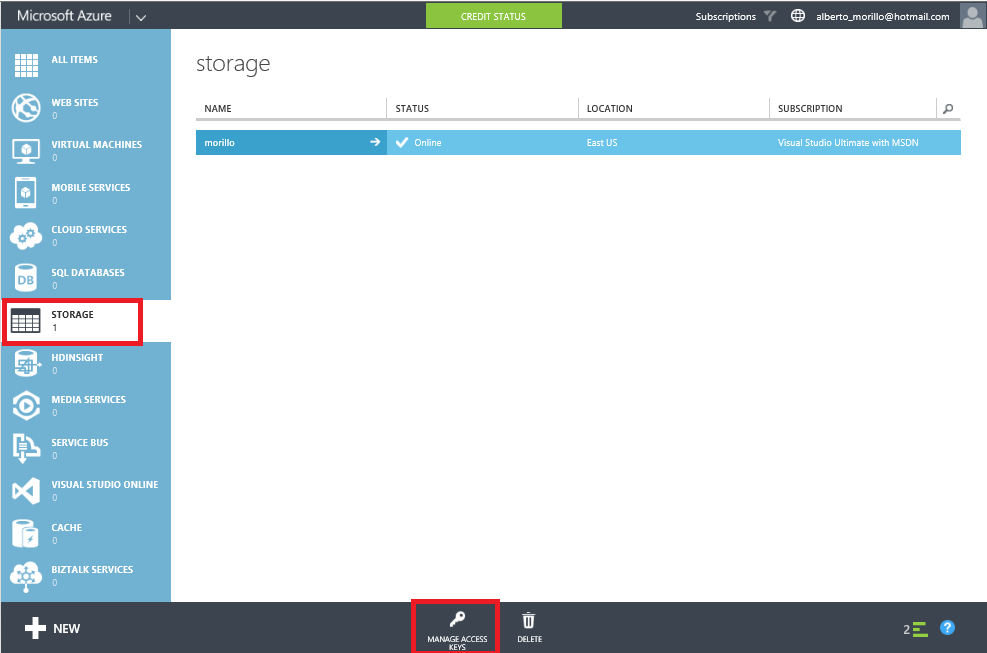
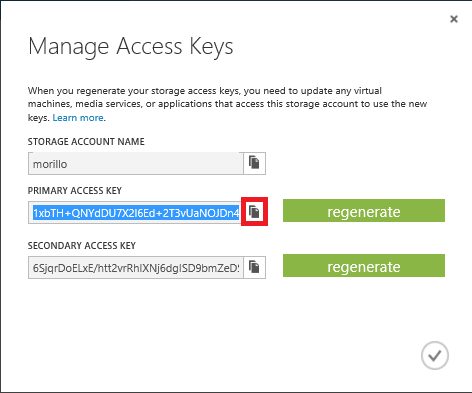
Now we to need to get an access key to be able to write to the newly created
container on the BLOB storage, please click "Storage", and then click on "Manage
Access Key" at the bottom of the screen.
Copy the primary access key by making a click on the icon shown below.
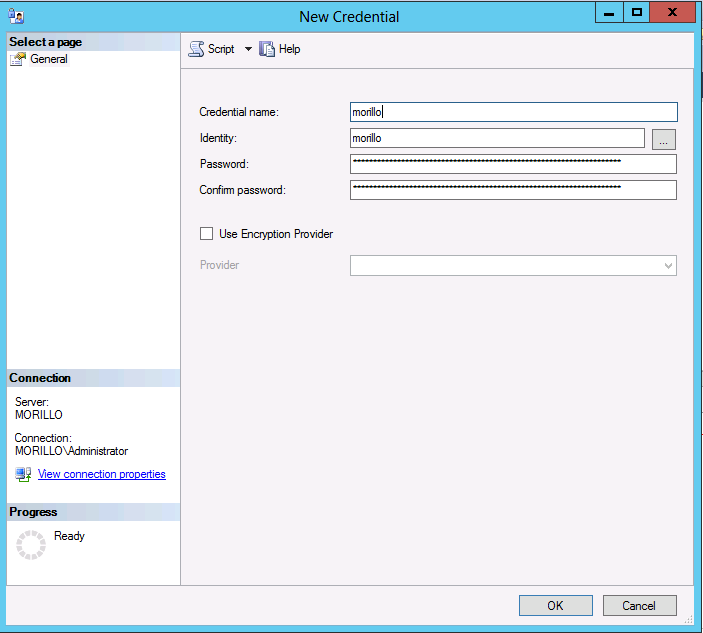
Now open SQL Server Management Studio, expand the security folder, make a right
click on the "Credentials" folder, and select to create a New Credential. Use
the name of the container as the credential name, use the storage account as the
"Identity", and provide the storage access key copied before as the password for
this credential. Make a click on the OK button when done.
Create a backup of a database to the URL of the container you previously created
using the T-SQL statement below.
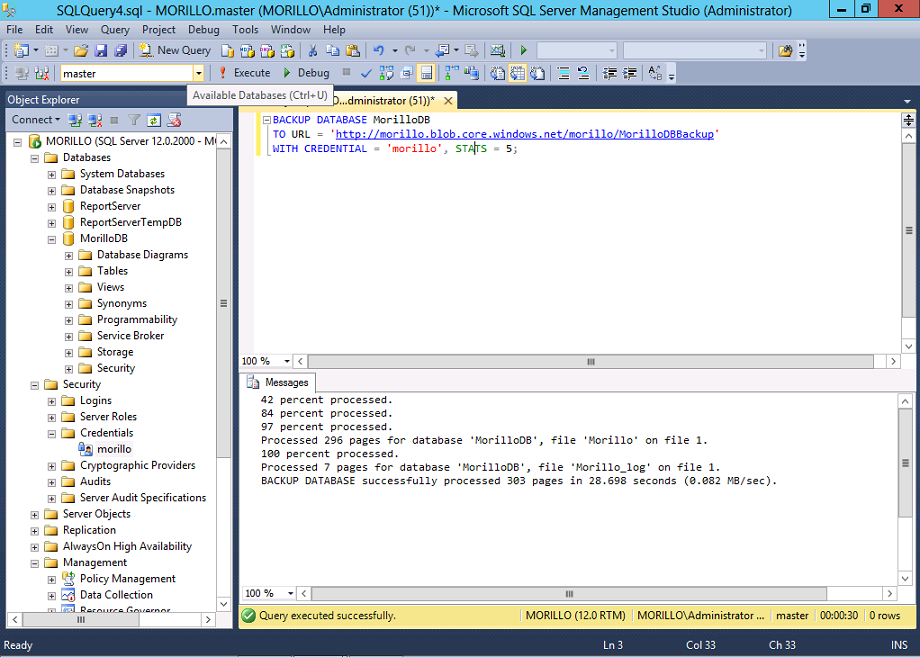
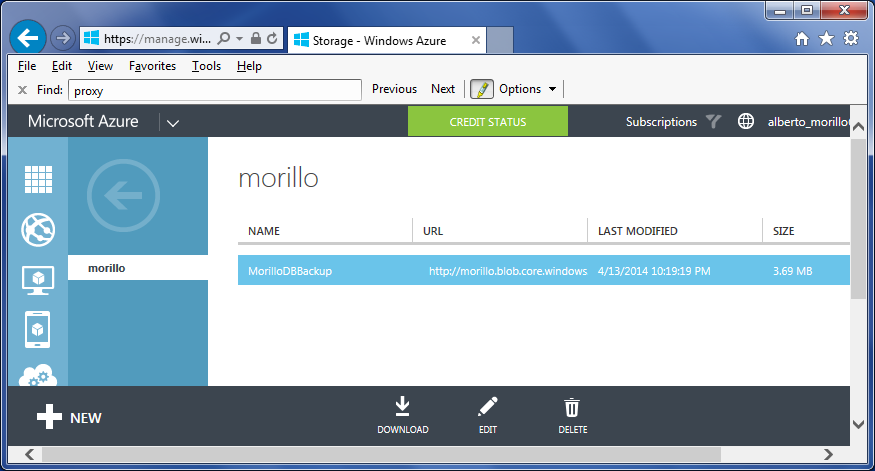
Once the backup has finished, you can examine the container on the storage
account to verify the backup is stored in the container, as shown below.
![[Company Logo Image]](images/SQLCofee.jpg)
